
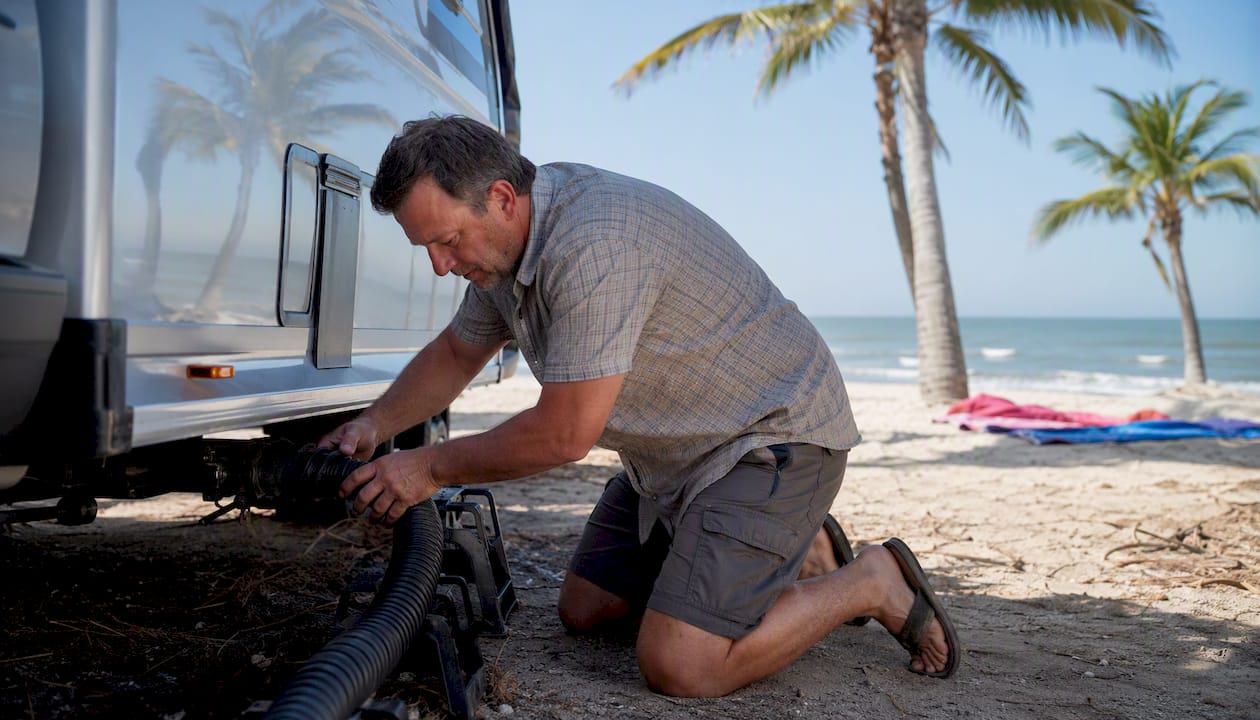
If your black tank won’t drain at a campsite, the most likely cause is not a clog inside the tank. It’s a geometry problem with your sewer hose. A sagging hose, an uphill section, or a low “belly” traps waste before it ever reaches the campground inlet. The fix is straightforward: suspend your sewer hose on a support system that holds a continuous downhill slope from your RV outlet to the ground inlet, and drainage restores itself.
The slope you’re aiming for is 1–2%, or roughly 1/8 to 1/4 inch per foot, which is the grade the International Plumbing Code references for gravity-flow drain lines. Rvlevitator’s tension-line suspension system is built specifically to hold that grade on uneven terrain where fixed ramps fail.
Before you do anything else, run these quick checks:
- Put on gloves before touching any fittings
- Install a clear elbow at the campground inlet so you can watch flow
- Look for visible sags or “bellies” in the hose between the RV and the inlet
- Feel along the hose for any uphill sections
- Confirm the dump valve opens fully and the inlet elbow is locked
Table of Contents
- Why hose geometry causes most black tank drainage problems
- How to confirm the problem is a geometry issue
- Step-by-step: set up a sewer hose support on uneven campsites
- Which sewer hose support type works best on uneven terrain?
- Quick installation checklist and common mistakes to avoid
- How to protect your hose and support for long-term reliability
- What does a sewer hose support cost, and how long does setup take?
- Key Takeaways
- The fix most RVers overlook until it’s too late
- Get the Rvlevitator sewer hose support kit
- Useful sources and further reading
Why hose geometry causes most black tank drainage problems
Most cases of an RV black tank not draining come down to one thing: waste can’t flow uphill, and it won’t move through a trap. When your sewer hose dips below the campground inlet or sags in the middle, waste pools in that low spot. Solids settle, odor builds, and the tank appears stuck even though the valve is open and the tank is full.
The 1–2% slope standard (1/8 to 1/4 inch per foot) is the technical benchmark for gravity-flow drain lines. Even a small dip in the hose run creates a trap that holds waste and prevents complete emptying.
Unsupported hoses tend to sag and collect waste, and gravity alone often isn’t enough to push solids through a low section. Good Sam describes it well with a simple analogy: if a marble placed at your RV outlet can’t roll uninterrupted to the campground inlet, waste won’t either.
Beyond drainage, a hose lying on the ground creates other problems:
- Many RV parks require elevated hose runs as a sanitation rule
- Ground contact exposes the hose to UV damage, debris, and punctures
- A low-lying hose is a trip hazard for you and neighboring campers
- Disconnecting a hose with pooled waste causes spills
Sewer hose supports improve drainage efficiency, reduce odor, and help you stay compliant with campground rules. They’re not optional gear. Coach-Net classifies them as foundational RV accessories that also prevent trip hazards and accidental disconnections.

How to confirm the problem is a geometry issue
A two-minute check tells you whether hose layout is causing your black tank plumbing issue before you spend time on anything else.
- Clear elbow test: Attach a clear elbow at the campground inlet, open your dump valve briefly, and watch the flow. Slow trickle or no movement points to a slope or trap problem.
- Visual scan: Walk the full hose run and look for any section that dips below the inlet or sags between support points.
- Marble test: Mentally trace whether a marble could roll from your RV outlet to the inlet without hitting an uphill section. If not, you’ve found the problem.
- Connection check: Confirm the threaded elbow at the campground inlet is fully locked. A loose connection lets air in and disrupts flow.
Pro Tip: Start your check at the RV outlet, not the inlet. Most geometry problems begin within the first few feet of hose where the accordion sections sag under their own weight.
For a full step-by-step black tank dumping and rinsing procedure, review the process before your next dump to make sure your technique isn’t adding to the problem.

Step-by-step: set up a sewer hose support on uneven campsites
Once you’ve confirmed the geometry is off, here’s how to fix it.
What to have on hand:
- Gloves
- Clear elbow fitting
- Sewer hose support system (tension-line type recommended)
- Leveling blocks or shims for abrupt terrain drops
- Velcro straps or hose clips
Setup steps:
- Position the first support directly under the RV outlet, set at the highest point of the run.
- Extend the hose toward the campground inlet, placing supports every 1–2 feet to maintain a steady downward step.
- Check each segment: no section should rise above the previous one.
- Lock the threaded elbow at the campground inlet with a firm twist.
- Attach the clear elbow and open the dump valve to verify flow. Waste should move steadily with no pooling visible through the elbow.
- Finish with a gray water rinse to flush the hose clean.
Pro Tip: If the ground drops sharply between two support points, slide a leveling block under the lower support to keep the step gradual. A sudden drop creates turbulence and can leave solids behind.
For guidance on leveling and blocking on uneven terrain, the same principles that level your trailer apply to stepping your hose run.
Which sewer hose support type works best on uneven terrain?
Tension-line suspension with a UV-resistant sleeve gives you the most reliable slope control on variable ground. Here’s how the main categories compare:
| Support Type | Slope Control | Terrain Flexibility | Setup Time | Hose Protection |
|---|---|---|---|---|
| Accordion/step ramps | Moderate | Low (flat ground only) | Fast | None |
| Gutter/PVC trough | Moderate | Low (rigid, fixed length) | Slow | Partial |
| Stair-step blocks | Low | Moderate | Moderate | None |
| Tension-line + sleeve | High | High (any terrain) | Fast | Full (UV + debris) |
Fixed ramps and accordion cradles work fine on level pads. On uneven campsites, they leave gaps, tip sideways, or force you to stack blocks underneath them. A tension-line system suspends the hose above the ground entirely, so terrain irregularities don’t affect the slope.
Rvlevitator’s system uses a tension line to hold the hose at a continuous downward angle, paired with a UV-resistant vinyl sleeve that shields the hose from sun, dirt, and physical damage. The modular assembly fits standard hose diameters and sets up without tools. For a detailed look at camping sewer hose support options, Rvlevitator covers the full range of approaches and where each one fits.
Pro Tip: The sleeve does double duty: it protects the hose from UV degradation and keeps the run looking clean, which matters at campgrounds with strict site rules.
Quick installation checklist and common mistakes to avoid
Post-setup checklist:
- Continuous downhill path from outlet to inlet, no uphill sections
- No kinks or pinch points in the hose
- Inlet elbow locked and seated with O-ring in place
- Clear elbow shows steady flow when valve opens
- Hose elevated off the ground along the full run
Common mistakes that keep the black tank from emptying:
- Too-long hose runs. Extra length means more sag points. Use the shortest hose that reaches comfortably.
- Leaving a belly mid-run. One low section stops everything. Add a support point directly under it.
- Loose inlet elbow. An unseated elbow lets air in and breaks the flow. Twist firmly until it locks.
- Ignoring campground inlet height. If the inlet sits higher than your outlet, gravity won’t work. Check uphill hookup solutions before assuming the tank is the problem.
- Skipping the clear elbow. Without it, you’re guessing whether waste is actually moving.
How to protect your hose and support for long-term reliability
Routine care keeps your drainage fix working trip after trip. After each use, rinse the hose with gray water, wipe down the exterior, and inspect fittings for cracks or worn O-rings. Replace O-rings at the first sign of flattening or cracking — a failed seal causes leaks on disconnection.
For the support system itself:
- Inspect the tension line for fraying or UV brittleness before each trip
- Check the vinyl sleeve for cracks, discoloration, or dirt buildup
- Store supports dry and out of direct sunlight between trips
- Replace worn sleeve sections rather than waiting for a full failure
Pro Tip: At the end of camping season, lay the tension line flat and look for any stiff or discolored sections. UV damage shows up as whitening or surface cracking before the line actually breaks.
For a complete RV hose maintenance routine, Rvlevitator’s maintenance guide covers inspection intervals and storage best practices.
What does a sewer hose support cost, and how long does setup take?
A quality support that prevents sagging is a one-time purchase that pays for itself after one avoided spill or campground fine.
| Support Category | Typical Cost Range | Setup Time |
|---|---|---|
| Accordion/step ramps | $5–$10 | 3–5 minutes |
| Gutter/PVC trough | $10–$20 | 10–20 minutes |
| Tension-line + sleeve kit | $20–$40 | 5–10 minutes |
Setup time varies with hose length and terrain. A flat, short run takes five minutes. A long run across rocky or sloped ground may take closer to 20 minutes the first time, less once you know the site. Accessories like a clear elbow ($5–$10) and leveling blocks add a small cost but significantly improve your ability to verify and adjust the slope.
Key Takeaways
A properly supported sewer hose that holds a continuous 1–2% downhill slope fixes most black tank drainage problems without any tank intervention.
| Point | Details |
|---|---|
| Check geometry first | Most black tank drainage failures are caused by sags, traps, or uphill hose sections, not tank blockages. |
| Target 1–2% slope | The International Plumbing Code references 1/8 to 1/4 inch per foot as the standard for gravity-flow drain lines. |
| Use a clear elbow | Attach one at the campground inlet to confirm waste is actually moving before assuming the tank is the problem. |
| Tension-line suspension wins on uneven terrain | Fixed ramps fail on variable ground; a tension-line + sleeve system maintains slope regardless of terrain. |
| Rvlevitator is the recommended solution | Rvlevitator’s tension-line suspension with UV-resistant sleeve is built for uneven campsites and sets up in 5–10 minutes. |
The fix most RVers overlook until it’s too late
Most RVers troubleshoot the tank first: add chemicals, run a rinse wand, check the valve. Those are reasonable steps, but they don’t address the actual cause when the hose run is the problem. A tank full of enzyme treatment still won’t drain through a hose with a belly in it.
The smarter move is to treat hose geometry as the first diagnostic step, not the last resort. Spend two minutes checking the slope before you open the valve, and you’ll catch the problem before it becomes a spill. A tension-line support system makes that two-minute check unnecessary after the first setup because the slope is held automatically.
Rvlevitator backs its system with a money-back guarantee and provides installation guides and RV black tank drainage basics for campers who want the full picture before they buy. The product exists because uneven campsites are the norm, not the exception, and a fixed ramp simply doesn’t adapt.
Get the Rvlevitator sewer hose support kit
Rvlevitator’s tension-line suspension kit gives you a ready solution for uneven campsites. The kit includes the tension line, UV-resistant vinyl sleeve, and all fittings needed to suspend your hose at a continuous downhill angle over any terrain.

Setup takes 5–10 minutes. The sleeve protects your hose from UV damage, dirt, and debris, extending its life across seasons. The system fits standard RV sewer hose diameters and comes with a money-back guarantee so you can test it on your next trip without risk.
View specs, compatibility details, and installation documentation on the Rvlevitator product page, or browse the full sewer hose support kit collection to find the right fit for your rig.
Useful sources and further reading
- Good Sam: It All Flows Downhill — practical explanation of gravity flow and the marble test analogy
- Coach-Net: 10 Things RVers Should Know About RV Sewer Hose Supports — expert guidance on supports as foundational RV gear
- Rvlevitator: RV Black Tank Drainage Basics — step-by-step drainage background and slow-drain fixes
- Rvlevitator: Why RV Waste Drains Slowly — quick diagnosis and fixes for slow or stopped drainage
- Rvlevitator: RV Hose Maintenance Best Practices — inspection and storage guidance for long-term reliability
Always verify campground inlet height and connection requirements before setup, and confirm your hose fittings are compatible with the site’s drain fitting before opening the valve.
Leave a Reply