
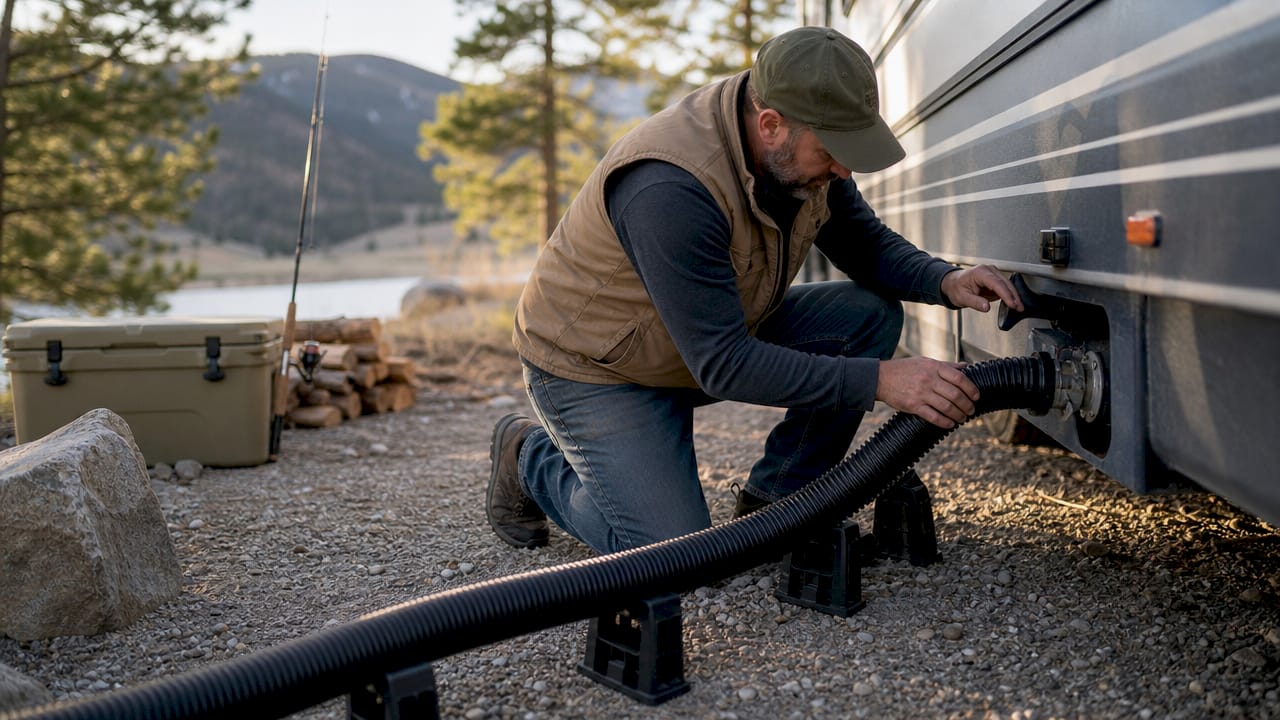
RV waste hose flow optimization is the process of improving sewage drainage efficiency through correct dumping practices, hose management, and equipment selection. Poor flow causes clogs, odors, and costly repairs that ruin camping trips. The good news is that three core practices fix most problems: timing your dumps correctly, setting up your hose with proper slope and support, and cleaning your system on a regular schedule. This guide covers each technique with specific, field-tested steps so you can drain your tanks cleanly every time, whether you are parked on flat pavement or a rocky hillside.
How does hose diameter, length, and routing impact flow efficiency?

The physical setup of your sewer hose is the single biggest factor in drainage performance. Most RV owners focus on the tank itself and ignore the hose run, which is where most flow problems actually start.
Internal diameter controls how much waste can move at once. Standard RV sewer hoses use a 3-inch internal diameter, which handles gravity flow well on short, level runs. When you add length or elevation changes, that diameter becomes a bottleneck fast.

Length and elevation compound each other. Every 2.31 feet of vertical rise reduces pressure by roughly 1 PSI. That loss stacks on top of friction losses from the hose walls, meaning a 20-foot hose run with a 5-foot elevation change can cut your effective flow output dramatically compared to a short, flat connection.
Routing matters just as much as length. Kinks, sharp bends, and sagging sections create low spots where solids settle and build up. A hose that sags in the middle acts like a partial dam. Waste pools there, dries out, and creates a blockage that gets worse with every dump.
Pro Tip: Keep your hose angled at a consistent downward slope from the RV outlet to the dump station inlet. Even a slight, steady grade moves waste far better than a flat or wavy run.
The table below shows how hose setup variables affect flow performance:
| Setup Variable | Low-Impact Setup | High-Impact Setup |
|---|---|---|
| Hose length | Under 10 feet | Over 20 feet |
| Elevation change | Less than 2 feet | More than 5 feet |
| Routing | Straight, supported | Kinked, sagging |
| Internal diameter | 3-inch standard | Undersized or collapsed |
| Support frequency | Every 3–4 feet | None |
Proper hose supports prevent sagging and pooling, keeping your sewer hose flowing efficiently even on uneven ground. Without them, gravity works against you instead of for you.
Why timing your black tank dump improves flow
Dumping too early is one of the most common mistakes RV owners make. A nearly empty tank produces weak, slow flow that cannot push solids through the hose effectively.
Waiting until your black tank reaches at least 2/3 capacity before dumping optimizes flow and reduces maintenance issues by 60–70%. The volume and weight of a fuller tank generate the hydraulic pressure needed to flush solids cleanly through the hose in one strong surge.
Dumping a nearly empty black tank is like trying to rinse a dish with a trickle of water. You need volume and pressure working together. A 2/3-full tank gives you both, pushing waste through the hose in a single, clean flush rather than leaving residue behind that dries and hardens.
Follow these steps for a clean, efficient dump every time:
- Check your tank monitor. Wait until the black tank reads at least 2/3 full before heading to the dump station.
- Connect your hose securely. Attach the hose to the RV outlet first, then connect the dump station end. This prevents spills if the hose shifts.
- Open the black tank valve fully. A partial opening slows flow and lets solids settle mid-hose.
- Watch the flow through a clear elbow. A clear 90-degree elbow at the dump station connection lets you see when the tank is empty. Flow turns from dark to clear when the tank is done.
- Flush the black tank. Use your built-in tank flush or a wand to rinse the tank walls before closing the valve.
- Dump the gray tank last. Gray water rinses the hose after the black tank empties, flushing residue out of the line.
The clear elbow step is one most RV owners skip. It costs very little and removes all guesswork about when your tank is truly empty.
How to maintain and clean your RV waste hose for optimal flow
A clean hose flows better and lasts longer. Biofilm, mineral deposits, and dried waste all narrow the interior and slow drainage over time.
Quarterly deep cleaning of your entire sewer system, including hose rinse caps and secondary knife valves, keeps the interior smooth and flow-efficient. Skipping this schedule lets buildup accumulate until you have a partial blockage that no amount of flushing fixes easily.
Key maintenance steps to follow:
- Use a dedicated black tank flush system. High-performance flushing systems with a vortex flow design deliver 25% more flush power than standard designs, which translates directly to a cleaner hose downstream.
- Keep a separate rinse hose. Never use your freshwater hose for black tank rinsing. Cross-contamination is a sanitation risk, and a dedicated rinse hose stays cleaner longer.
- Inspect the hose interior regularly. Shine a flashlight through the hose after rinsing. Dark spots or slow drip-through indicate biofilm or debris buildup that needs a chemical treatment.
- Check fittings and connectors. Loose fittings let air into the line, which disrupts flow. Tighten or replace any connector that feels loose or shows cracking.
- Store the hose properly between trips. A hose stored kinked or compressed develops permanent bends that restrict flow. Use a hose storage method that keeps it straight and dry.
Pro Tip: After every dump, pour a tank treatment enzyme product into the black tank with a gallon of water before you leave the dump station. The enzymes break down residue during your next trip, making the next flush far cleaner.
Odors are a reliable early warning sign. If you smell sewer gas at the RV outlet when the valve is closed, check your blade valve seal. A worn seal lets gas back into the hose and eventually into the RV.
What are the advantages of a macerator pump system for challenging terrains?
Gravity drainage fails when the dump station is uphill, far away, or only reachable through a tight routing path. A macerator pump solves all three problems.
Macerator pump systems grind solid waste into a fine slurry and pump it under pressure through a much smaller hose, typically 3/4 inch in diameter. That smaller hose is flexible, easy to route around obstacles, and can push waste uphill where gravity cannot. This gives you campsite flexibility that a standard 3-inch gravity hose simply cannot match.
The table below compares gravity drainage and macerator pump setups across key performance factors:
| Factor | Gravity drainage | Macerator pump |
|---|---|---|
| Hose diameter needed | 3 inches | 3/4 inch |
| Uphill discharge | Not possible | Yes, under pressure |
| Hose routing flexibility | Limited | High |
| Setup complexity | Simple | Moderate |
| Best terrain | Flat, short runs | Uneven, long, or uphill |
The smaller hose diameter of a macerator system is a real advantage on uneven terrain. You can run it through tight spaces, over rocks, or along a fence line without the stiff, bulky 3-inch hose fighting you every step.
Hose selection matters a lot with macerator pumps. Avoid expandable hoses on long pump runs. They collapse under pressure and kink easily, which kills pump efficiency and can burn out the motor. Use a durable, non-expanding 3/4-inch hose rated for pressure service instead.
Pro Tip: When you finish pumping and reel in the macerator hose, leave the pump running briefly while you coil the hose. The pressure inside keeps the hose round and prevents kink-forming flat spots from forming during storage.
One thing macerator pumps do not fix is a dirty tank. You still need to flush the black tank thoroughly after pumping. The pump moves waste efficiently, but it does not rinse the tank walls. Combine macerator pumping with a proper tank flush for the best results on extended travel waste management.
Key Takeaways
Consistent RV waste hose flow requires correct dump timing, proper hose slope with physical support, and regular cleaning combined with the right pump setup for your terrain.
| Point | Details |
|---|---|
| Dump at 2/3 tank capacity | A fuller tank generates the pressure needed to flush solids cleanly through the hose. |
| Support your hose every 3–4 feet | Continuous slope prevents sagging, pooling, and the solid buildup that causes clogs. |
| Clean the system quarterly | Deep cleaning removes biofilm and deposits that narrow the hose interior over time. |
| Use macerator pumps on uneven terrain | Pressure-driven slurry flow handles uphill runs and long distances that gravity cannot. |
| Choose the right hose for your pump | Non-expanding 3/4-inch hose maintains pressure and resists kinking on macerator setups. |
What I have learned from real-world RV waste system management
Most RV owners treat waste management as a chore to rush through. That mindset causes most of the problems I see repeated at campgrounds every season.
The biggest mistake is impatience. Dumping a half-full tank saves five minutes but costs you an hour of hose cleaning and a potential clog. Waiting for 2/3 capacity is not just a recommendation. It is the single habit that separates RV owners who rarely have problems from those who constantly deal with them.
The second thing I have learned is that no single technique works in isolation. A perfectly timed dump through a kinked, unsupported hose still leaves residue. A clean hose on a campsite with a 6-foot elevation change still drains slowly without a macerator pump. The RV owners who get reliable results combine all the practices: proper timing, supported hose runs, quarterly cleaning, and the right pump for the terrain.
Uneven terrain is where most people give up and accept poor drainage as normal. It is not normal, and you do not have to accept it. A quality hose support system and a macerator pump for the tough spots solve the problem completely. The investment pays back in avoided clogs, extended hose life, and a lot less time on your knees at the dump station.
— Rvlevitator
Rvlevitator sewer hose supports for better waste flow
Maintaining a consistent downward slope is the foundation of good waste hose drainage, and that is exactly what Rvlevitator builds products to solve.

Rvlevitator’s sewer hose support kits are designed to hold your hose at the correct angle regardless of ground conditions. They work on gravel, grass, pavement, and uneven terrain without requiring you to prop the hose up with rocks or improvised stands. The setup is fast, the support is consistent, and the hose stays protected from ground abrasion and environmental damage. Browse the full range of RV sewer hose supports to find the right fit for your rig and camping style. Rvlevitator backs every product with a money-back guarantee.
FAQ
When should I dump my RV black tank?
Dump your black tank when it reaches at least 2/3 capacity. That volume generates enough hydraulic pressure to flush solids cleanly through the hose in a single pass.
What causes poor flow in an RV sewer hose?
Sagging hose sections, kinks, insufficient slope, and interior buildup from infrequent cleaning are the most common causes of slow or blocked waste flow.
How often should I clean my RV sewer hose?
Quarterly deep cleaning is the recommended minimum. If you camp frequently or use the black tank heavily, clean the system every 6–8 weeks.
Can a macerator pump replace a standard gravity sewer hose?
A macerator pump handles situations where gravity drainage fails, such as uphill runs or long hose distances, but it still requires a clean tank and proper hose selection to work efficiently.
Does hose length really affect drainage that much?
Yes. Flow loss compounds with every additional foot of hose and every foot of elevation gain. Shorter, well-supported runs always outperform long, unsupported ones.
Recommended
- RV Waste Drainage Best Practices for Cleaner Trips
- RV Backflow Preventer –
- RV Hose Storage Between Trips: Keep It Clean
- RV Sewer Hose Torque: What Every RVer Must Know
Tired of fighting your sewer hose setup? The Levitator suspends your hose above any terrain: no sags, no pooling, no smell. See how it works or shop the lineup.