
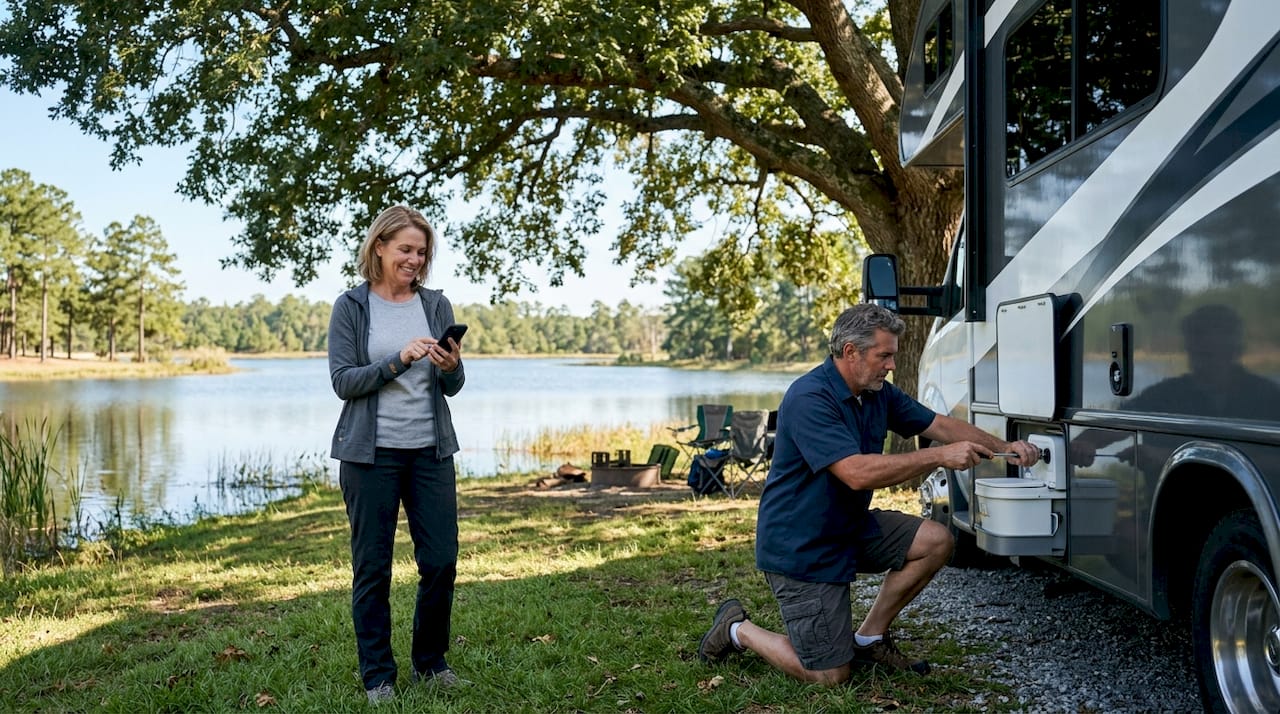
RV sanitation upgrades for full-timers are defined as targeted improvements to toilet systems, holding tanks, water filtration, and waste drainage that make full-time mobile living clean, reliable, and low-maintenance. Unlike weekend campers, full-timers put their sanitation systems under daily stress. The right upgrades protect your health, extend equipment life, and cut down on the frustrating odors and clogs that plague poorly managed systems. This guide covers the most practical upgrades, from composting toilets to enzyme-based tank treatments and sewer hose supports, so you can build a system that works as hard as you do.
What are the best RV sanitation upgrades for full-timers?
The three most impactful toilet upgrades for full-time RV living are composting toilets, ceramic gravity-flush toilets, and macerator toilets. Each solves a different problem, and choosing the wrong one for your lifestyle creates more headaches than it solves.
Composting toilets
Switching to a composting toilet eliminates dump station dependence entirely and takes 2–4 hours to install. That is a major win for off-grid travelers who spend weeks in boondocking spots without hookups. For two full-time users, the liquid compartment needs emptying every 1–2 days, while the solids bin lasts 2–4 weeks in warm weather and 10–14 days in cold weather. Ventilation matters here. Short, straight vent hoses improve odor removal significantly, so plan your installation route before you buy.

Ceramic gravity-flush toilets
Ceramic toilets like the Dometic 420 eliminate the odor traps built into standard plastic models. Plastic toilets develop microscopic scratches over time, and those scratches harbor bacteria and odor. Ceramic surfaces resist scratching and clean faster. The Dometic 420 also offers bidet attachment compatibility starting june 2026, which reduces toilet paper usage and keeps the bowl cleaner between flushes. If you are staying at full-hookup campgrounds most of the time, a ceramic toilet is the single best upgrade you can make.
Macerator toilets
Macerator toilets grind waste into a fine slurry and pump it through smaller diameter pipes, which gives you far more flexibility in bathroom layout. They work well in rigs where the toilet cannot sit directly above the black tank. The trade-off is electrical demand. Macerators require dedicated 25–30 amp 12VDC breakers, and you must use RV-specific toilet paper to avoid motor failure. They are best suited for full-timers who are mechanically comfortable and willing to manage the added maintenance.
Pro Tip: If you travel frequently off-grid, choose a composting toilet. If you stay mostly at campgrounds with full hookups, a ceramic gravity-flush toilet gives you the best hygiene with the least complexity.
| Toilet type | Best for | Key requirement |
|---|---|---|
| Composting | Off-grid, boondocking | Daily liquid emptying |
| Ceramic gravity-flush | Full-hookup campgrounds | Standard plumbing connection |
| Macerator | Complex layouts | Dedicated 12VDC breaker |

How can full-timers upgrade their water and waste management systems?
Water and waste infrastructure upgrades protect your health and prevent costly repairs. Full-time water system upgrades run around $1,100 total, but the individual components are affordable and installable in a weekend.
The most critical water upgrade is an adjustable pressure regulator with a gauge. City water hookups vary wildly in pressure, and unregulated high pressure cracks fittings and blows out water lines. A regulator with a gauge lets you see exactly what pressure is entering your system and dial it down before damage occurs.
Under-sink filtration is the second priority. A 3-stage filtration system with a final 0.2-micron filter removes biological contaminants including Giardia and Cryptosporidium. That level of filtration matters when you are drawing from campground water sources of unknown quality. You should also sanitize your water system with 1/4 cup of unscented bleach per 15 gallons, circulated through the lines with at least a 12-hour dwell time, then flushed completely. Do this twice a year to prevent biofilm buildup.
For the black tank, advanced rinsing technology makes a real difference. The VortiJet black tank cleaner delivers 25% better flush power than standard rinsers and performs a two-stage clean that includes the sewer hose. That extra power breaks up the waste buildup that standard rinsers miss, reducing manual scrubbing and cross-contamination risk.
Key water and waste upgrades to prioritize:
- Adjustable pressure regulator with gauge to protect all downstream plumbing
- 3-stage under-sink filter with 0.2-micron final stage for biological safety
- Advanced black tank rinser for thorough cleaning after each dump
- Dedicated sewer hose stored separately from freshwater hoses to prevent contamination
- Backflow preventer at the city water inlet to stop waste water from entering the fresh supply
For more on managing water use alongside waste systems, the water conservation and sanitation guide at Rvlevitator covers practical flushing habits that reduce tank strain.
What maintenance routines keep RV sanitation systems working long-term?
RV holding tanks are temporary storage vessels, not treatment systems. That distinction matters because many full-timers treat them like a residential septic tank and end up with chronic odors and pyramid clogs.
The single most important behavioral habit is keeping the black tank valve closed until the tank is at least 2/3 full. Frequent small dumps cause more odors and clogs because there is not enough liquid volume to flush solids through the drain. Leaving the valve open constantly is worse. It dries out the tank, bakes waste onto the walls, and creates the pyramid clog that requires professional cleaning to remove.
Follow this maintenance sequence for reliable results:
- Keep the black tank valve closed until the tank reaches 2/3 capacity before dumping.
- Use enzyme-based treatments after every dump, dosed consistently per the product instructions.
- Flush with adequate water after every use. Skimping on water is the leading cause of solid buildup.
- Inspect vent pipes and P-traps monthly for blockages that cause odors to back up into the cabin.
- Adjust dump frequency seasonally. Cold weather slows bacterial activity in enzyme treatments, so you may need to dump more often in winter.
- Inspect sewer hoses before and after every move for cracks, soft spots, or loose fittings.
Pro Tip: Add a few gallons of water and a dose of enzyme treatment to the black tank immediately after dumping. Starting the next cycle with active bacteria already working prevents odor from building up between dumps.
For a deeper look at waste management on extended trips, Rvlevitator’s guide covers tank care practices specific to long-haul travel patterns.
How do sanitation accessories extend the life of your RV waste system?
The right accessories protect your sanitation investment and prevent the small failures that turn into expensive repairs. Full-timers who skip accessories often pay for it in hose replacements, odor problems, and contamination risks.
Sewer hose supports are the most overlooked upgrade in full-time RV sanitation. A sagging hose does not drain fully. Waste pools in the low spots, creating odor and increasing the chance of a blowout at a connection point. Rvlevitator’s sewer hose supports are designed to work on uneven terrain, which is the real-world condition at most campgrounds. The Levitator hose support system outperforms traditional accordion-style supports by maintaining consistent elevation regardless of ground slope.
Hose covers add UV protection and physical shielding for hoses stored outside the rig. UV degradation is the primary cause of hose brittleness and cracking in sunny climates. A quality hose cover extends hose life significantly and keeps birds and rodents from damaging the material during extended stays.
Additional accessories worth adding:
- Backflow preventer at the sewer connection to stop waste gases and liquid from reversing into your hose
- Sanitary tee fittings to improve waste flow direction and reduce splashback during dumping
- Separate hose storage containers that keep sewer hoses completely isolated from freshwater equipment
Proper sewer hose storage and inspection practices are critical for full-time hygiene. A hose that looks fine on the outside can have internal cracking that leaks during a dump. Inspect the full length before every hookup.
Key Takeaways
Effective RV sanitation upgrades for full-timers require matching your toilet type to your travel style, maintaining disciplined tank valve habits, and protecting your hoses and connections with the right accessories.
| Point | Details |
|---|---|
| Match toilet to lifestyle | Composting toilets suit off-grid travel; ceramic gravity-flush suits full-hookup campgrounds. |
| Keep black tank valve closed | Open valves dry out tanks and cause pyramid clogs; dump only when 2/3 full. |
| Filter your water supply | A 3-stage under-sink filter with a 0.2-micron final stage removes Giardia and Cryptosporidium. |
| Support and protect your sewer hose | Hose supports prevent sagging and pooling; hose covers block UV damage and pest damage. |
| Use enzyme treatments consistently | Consistent dosing after every dump keeps bacterial activity high and odors low. |
What I’ve learned about sanitation upgrades after years on the road
The biggest mistake I see full-timers make is over-engineering their sanitation setup before they understand their actual travel patterns. Someone who spends 80% of their time at full-hookup campgrounds does not need a composting toilet. They need a ceramic bowl, a good black tank rinser, and disciplined valve habits. The composting toilet is the right call for the boondocker who rarely sees a dump station.
The second mistake is ignoring the hose. Full-timers obsess over tanks and toilets but treat the sewer hose like an afterthought. A sagging, UV-cracked hose is a health hazard and a mess waiting to happen. I’ve seen rigs with $500 toilet upgrades connected to a hose lying flat on the ground with no support. That defeats the entire purpose of upgrading the system upstream.
Off-grid living also changes your maintenance math. Cold weather slows enzyme activity, which means your tank chemistry is less effective in winter. You need to dump more frequently and use warmer water when flushing to keep things moving. Full-timers who ignore seasonal adjustments end up with odor problems they blame on their equipment when the real issue is their routine.
My honest recommendation: start with the valve habit and the enzyme treatment. Those two changes cost almost nothing and fix the majority of odor and clog complaints. Then upgrade the toilet and water filtration. Add hose supports and covers last, but do not skip them. They protect everything else you have invested in.
— Rvlevitator
Rvlevitator’s sanitation gear for full-time RVers
Rvlevitator builds sewer hose supports and covers specifically for the conditions full-timers actually face: uneven terrain, extended outdoor exposure, and the need for quick, reliable setup at every new site.

The sewer hose support range at Rvlevitator includes options for different hose lengths and site configurations, all designed to maintain proper drainage slope regardless of ground conditions. The hose cover collection adds UV protection and physical shielding that extends hose life through seasons of outdoor storage. Installation is straightforward, and Rvlevitator backs every product with a money-back guarantee. Visit Rvlevitator to find the right support kit for your rig and get setup instructions that take the guesswork out of your first install.
FAQ
What is the best toilet upgrade for full-time RV living?
The best toilet upgrade depends on your travel style. Composting toilets eliminate dump station dependence for off-grid travelers, while ceramic gravity-flush toilets like the Dometic 420 offer superior hygiene and easy maintenance for full-hookup campers.
How often should full-timers dump their black tank?
Dump the black tank when it reaches 2/3 capacity. Dumping too frequently with a partially full tank leaves solids behind and increases odor and clog risk.
Do RV sewer hoses need supports?
Yes. A hose without support sags and pools waste in low spots, which causes odors and increases blowout risk at connection points. Supports designed for uneven terrain, like those from Rvlevitator, maintain consistent drainage slope at any campsite.
How do I sanitize my RV water system?
Circulate 1/4 cup of unscented bleach per 15 gallons through the entire water system, let it sit for at least 12 hours, then flush completely with fresh water. Repeat this process twice a year to prevent biofilm buildup.
What enzyme treatments work best for RV black tanks?
Enzyme-based treatments that contain live bacterial cultures work best. Add a consistent dose after every dump, and use warm water when flushing to keep bacterial activity high, especially in cold weather when enzyme performance drops.
Leave a Reply