
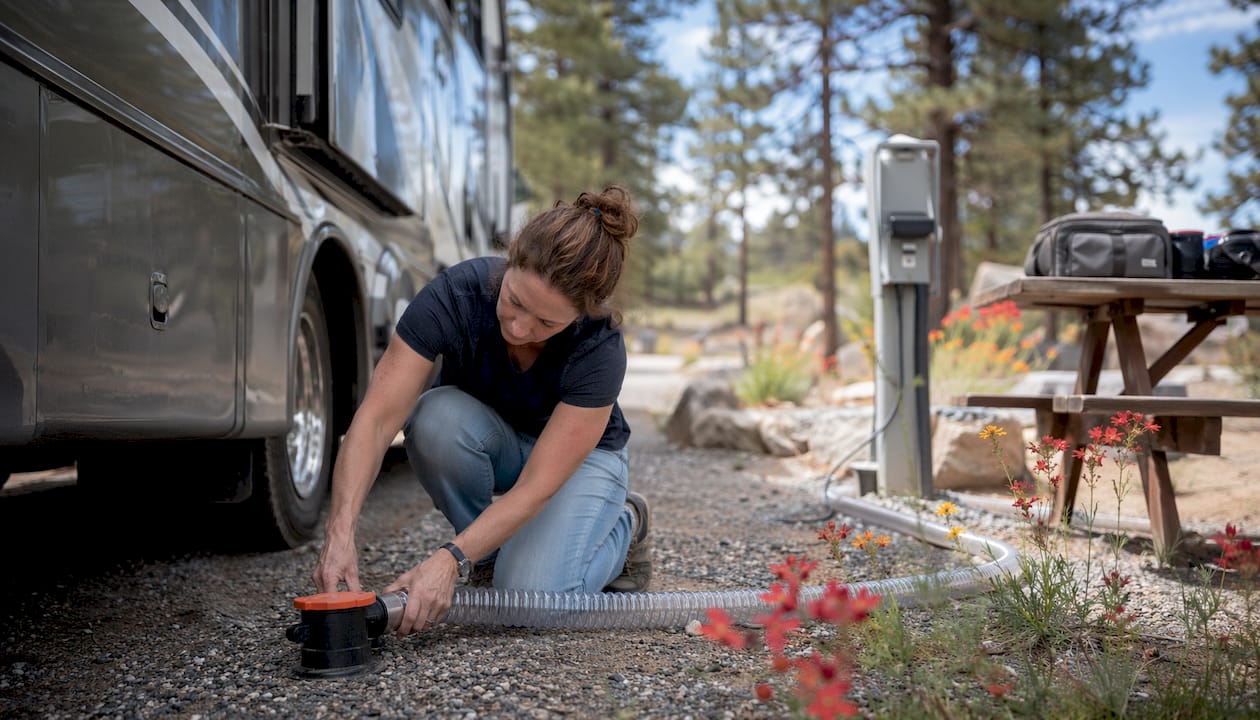
A campsite sewer stub is defined as a vertical pipe, typically capped, that connects your RV’s waste outlet directly to the campground’s underground sewer system. Understanding what is campsite sewer stub location means knowing exactly where to look on your site and how to use it correctly. Get this wrong and you risk leaks, odors, and backups that ruin a trip fast. Get it right and your waste management runs quietly in the background while you focus on camping.
What is campsite sewer stub location and how do you find it?
The sewer stub sits in the rear third of your parking pad, almost always on the driver’s side of the RV site. Campground designers cluster it near the electrical pedestal and water spigot so you can reach all three utilities without moving your rig. That cluster is your landmark. When you pull into a new site, scan the driver’s side rear corner for a short pipe sticking up from the ground, usually capped with a rubber or plastic cover.
The industry term for this connection point is a “sewer riser” or “sewer inlet.” You will also hear campers call it a sewer stub, a dump stub, or a campsite sewer connection. All of these refer to the same thing. Knowing both the informal and technical names helps when you are reading campground maps, asking staff for help, or searching for adapters at a hardware store.

Campground sewer access points are not always obvious. Older parks may have stubs that sit flush with the ground or are partially buried under gravel. Newer parks often mark them with a green or black cap. If you cannot spot it immediately, look for the electrical pedestal first and then check within three feet of it toward the rear of the site.
Physical characteristics of campsite sewer stubs
Sewer stubs use 3–4 inch diameter PVC pipe as the industry standard. That size matches the standard RV sewer hose fitting, which is why most connections require little more than a straight adapter or a rubber donut to seal. The pipe sits at or just above ground level, typically no more than a few inches tall, though height varies by campground.
The table below shows the most common physical specs you will encounter at full-hookup campgrounds across the United States.
| Feature | Typical Specification |
|---|---|
| Pipe diameter | 3–4 inches (PVC) |
| Height above grade | 0–8 inches |
| Cap type | Rubber plug or threaded plastic cap |
| Location on site | Rear third, driver’s side |
| Proximity to utilities | Within 3 feet of electrical pedestal |
Height is the variable that causes the most trouble. Ground height variations can push stubs 6–8 inches above grade, which forces you to manage uphill flow or use a support system to maintain proper slope. Flat, well-graded sites rarely present this problem, but older campgrounds with settled ground often do.
Placement near the electrical pedestal is not accidental. Campground engineers group utilities together to reduce trenching costs and simplify inspections. That design choice also benefits you: one visual check of the pedestal area tells you where every hookup is located.

Industry design standards and maintenance for sewer stubs
Professional RV park standards require sewer riser pipes to be capped when not in use to block groundwater intrusion and prevent vermin from entering the system. An open riser disrupts the treatment system’s capacity and creates odor problems that spread across the site. Campground operators who skip this step face guest complaints and potential regulatory fines.
Current 2026 best practices for sewer stub design and maintenance include:
- Automatic-sealing caps: These replace manual rubber plugs and close on their own when the hose is removed, cutting odor and maintenance time.
- Gravity-based flow design: The entire system depends on a consistent downward slope from your RV to the stub and from the stub to the main sewer line. Any interruption in that slope causes pooling and backups.
- Regular riser inspections: Campground operators should check stubs for cracks, cap integrity, and pipe height after ground-freeze cycles, since frost heave shifts pipe elevation.
- Environmental compliance: Many states require campgrounds to meet EPA guidelines for wastewater containment, which directly affects stub design, cap requirements, and system capacity.
- Guest education: Sewer stubs are the most frequent source of guest complaints due to improper use or system overload. Campgrounds that post clear connection instructions at each site see fewer incidents.
The shift to automatic-sealing caps reflects a broader move toward lower-maintenance campground infrastructure. For you as a camper, it means fewer odor surprises when you remove the cap, but it also means you need to confirm the cap releases cleanly before forcing your hose adapter into place.
How to connect your RV to a campsite sewer stub
A proper campsite sewer connection requires a secure, airtight seal and a consistent downward slope from your RV’s termination outlet to the stub. Gravity is the primary mechanism for waste movement, so hose angle is not optional. Even a short flat section in the middle of your hose creates a pocket where solids collect and odors build.
Follow these steps for a clean, leak-free hookup:
- Remove the stub cap and set it somewhere clean. You will need it when you disconnect.
- Attach your sewer hose to the RV outlet first. Secure it with a bayonet twist or threaded collar depending on your rig’s fitting type.
- Run the hose toward the stub and check that it slopes downward continuously. No sags, no flat sections.
- Insert the hose adapter into the stub. Use a threaded adapter, rubber gasket, or sewer donut to create an airtight seal. A loose connection lets sewer gas escape and attracts insects.
- Keep the gray water valve closed until you are ready to flush. Keep the black water valve closed until the tank is at least two-thirds full.
- To disconnect, close both valves, flush with gray water to clear the hose, then remove the hose from the stub before detaching it from the RV.
Pro Tip: Attach a clear elbow fitting at the stub end of your hose. It lets you watch the flow and confirm your tank is fully rinsed before you disconnect, which prevents hidden blockages from building up over time.
Keeping the black tank valve open continuously is the most common beginner mistake at full-hookup sites. Liquid drains away immediately, leaving solids behind to dry and form a blockage called a “pyramid.” Waiting until the tank is two-thirds full creates enough pressure to flush everything cleanly.
Common challenges with campsite sewer stubs
Even experienced campers run into problems at the stub. Most issues fall into a few predictable categories, and each one has a practical fix.
Stub sits higher than your RV outlet. When stubs sit 6–8 inches above grade, gravity works against you. You cannot create a downward slope from the RV to the stub. The fix is a sewer hose support system that raises the hose near the RV and tapers it down toward the stub, creating an artificial slope. Some campers use a macerator pump in extreme cases, which grinds waste and pumps it uphill, but this adds cost and setup time.
Broken or brittle retaining stubs. Retaining stubs crack in cold weather, especially if they are older PVC that has become brittle. Carrying a spare termination adapter costs almost nothing and saves you from a messy situation. A slip-fit coupling adapter for 3-inch PVC pipe handles most quick repairs without tools.
Odor coming from the stub. This usually means the cap was not sealing properly before you arrived, or your hose connection is not airtight. Check the rubber gasket on your adapter and replace it if it is cracked or stiff.
Clogs and slow drainage. A clear elbow fitting at the stub inlet shows you exactly what is happening inside the hose. If flow slows to a trickle, the clog is usually in the hose itself, not the campground system.
Pro Tip: Before you park, check the stub for damage and confirm the cap is intact. A cracked stub or missing cap is a sign the site has not been inspected recently, and it is worth flagging to campground staff before you connect.
The table below compares the two main approaches for handling elevation mismatches between your RV outlet and the sewer stub.
| Approach | Best for | Limitation |
|---|---|---|
| Hose support with slope adjustment | Stubs up to 6 inches above grade | Requires a quality support system |
| Macerator pump | Stubs significantly higher than outlet | Adds cost and setup complexity |
Key Takeaways
A campsite sewer stub is a 3–4 inch PVC riser pipe located in the rear third of your site, and proper connection requires a sealed adapter, a continuous downward slope, and disciplined valve management.
| Point | Details |
|---|---|
| Stub location | Look in the rear third of the site, driver’s side, near the electrical pedestal. |
| Standard pipe size | Sewer stubs use 3–4 inch PVC, matching standard RV hose fittings. |
| Gravity is non-negotiable | Maintain a continuous downward slope from RV outlet to stub for clean drainage. |
| Valve discipline | Keep the black tank valve closed until two-thirds full to prevent solids buildup. |
| Carry spare adapters | A backup termination adapter handles broken stubs without tools or delays. |
What I have learned after years at the stub
The campsite sewer stub is the most overlooked part of the RV setup process. Campers spend hours researching leveling blocks and awnings, then wing it when it comes to waste management. That is backwards. A bad sewer connection affects every hour of your stay.
The height variation issue catches people off guard more than anything else. You can do everything right and still end up with a stub that sits higher than your outlet. I have seen experienced campers spend 20 minutes improvising with bricks and spare hose sections when a proper support system would have solved it in two minutes. Carrying a quality hose support system is not a luxury item. It is standard kit.
The other thing I keep coming back to is valve discipline. Leaving the black tank valve open is one of those habits that feels convenient until it creates a problem you cannot ignore. The two-thirds rule is simple and it works. Teach it to anyone who shares your rig.
One more thing: always inspect the stub before you connect. A cracked riser, a missing cap, or a stub that wobbles when you touch it tells you the site has not been maintained. That is a conversation to have with campground staff before waste is involved, not after.
— Rvlevitator
Sewer hose support gear that makes stub connections easier
Connecting to a campsite sewer stub gets significantly cleaner when your hose stays at the right angle from start to finish. Sagging hose sections trap waste, create odors, and put stress on your fittings.

Rvlevitator designs sewer hose support systems built to hold a proper slope on any terrain, including the uneven ground that causes the most trouble at older campgrounds. The support works regardless of ground conditions, installs in minutes, and protects your hose from physical damage between uses. If you want a cleaner, faster hookup at every site you visit, browse the full range of RV sewer hose supports and find the setup that fits your rig.
FAQ
What is a sewer stub at a campsite?
A sewer stub is a short vertical PVC pipe, typically 3–4 inches in diameter, that provides the campground sewer access point for your RV’s waste hose. It connects your rig to the campground’s underground sewer system.
Where is the sewer stub located on an RV site?
The sewer stub sits in the rear third of the parking pad, usually on the driver’s side and within a few feet of the electrical pedestal and water spigot.
How do I connect my RV sewer hose to a campsite stub?
Attach the hose to your RV outlet first, run it with a continuous downward slope to the stub, then seal the stub end with a threaded adapter, rubber gasket, or sewer donut to create an airtight connection.
Why does my sewer stub sit higher than my RV outlet?
Ground settling and frost heave can push stubs 6–8 inches above grade. Use a sewer hose support system to create an artificial downward slope, or use a macerator pump for more extreme height differences.
How do I prevent odors from the campsite sewer connection?
Keep the stub capped when not in use, use an airtight adapter when connected, and replace cracked or stiff rubber gaskets. Keeping your black tank valve closed until the tank is two-thirds full also reduces gas pressure and odor at the connection point.
Recommended
- RV Dump Station Hose Setup: Your 2026 Guide
- RV Levitator RV Sewer Hose Support Featured in RVBusiness.com –
- RV Sewer Hose Setup: A Beginner’s Practical Guide
Tired of fighting your sewer hose setup? The Levitator suspends your hose above any terrain: no sags, no pooling, no smell. See how it works or shop the lineup.