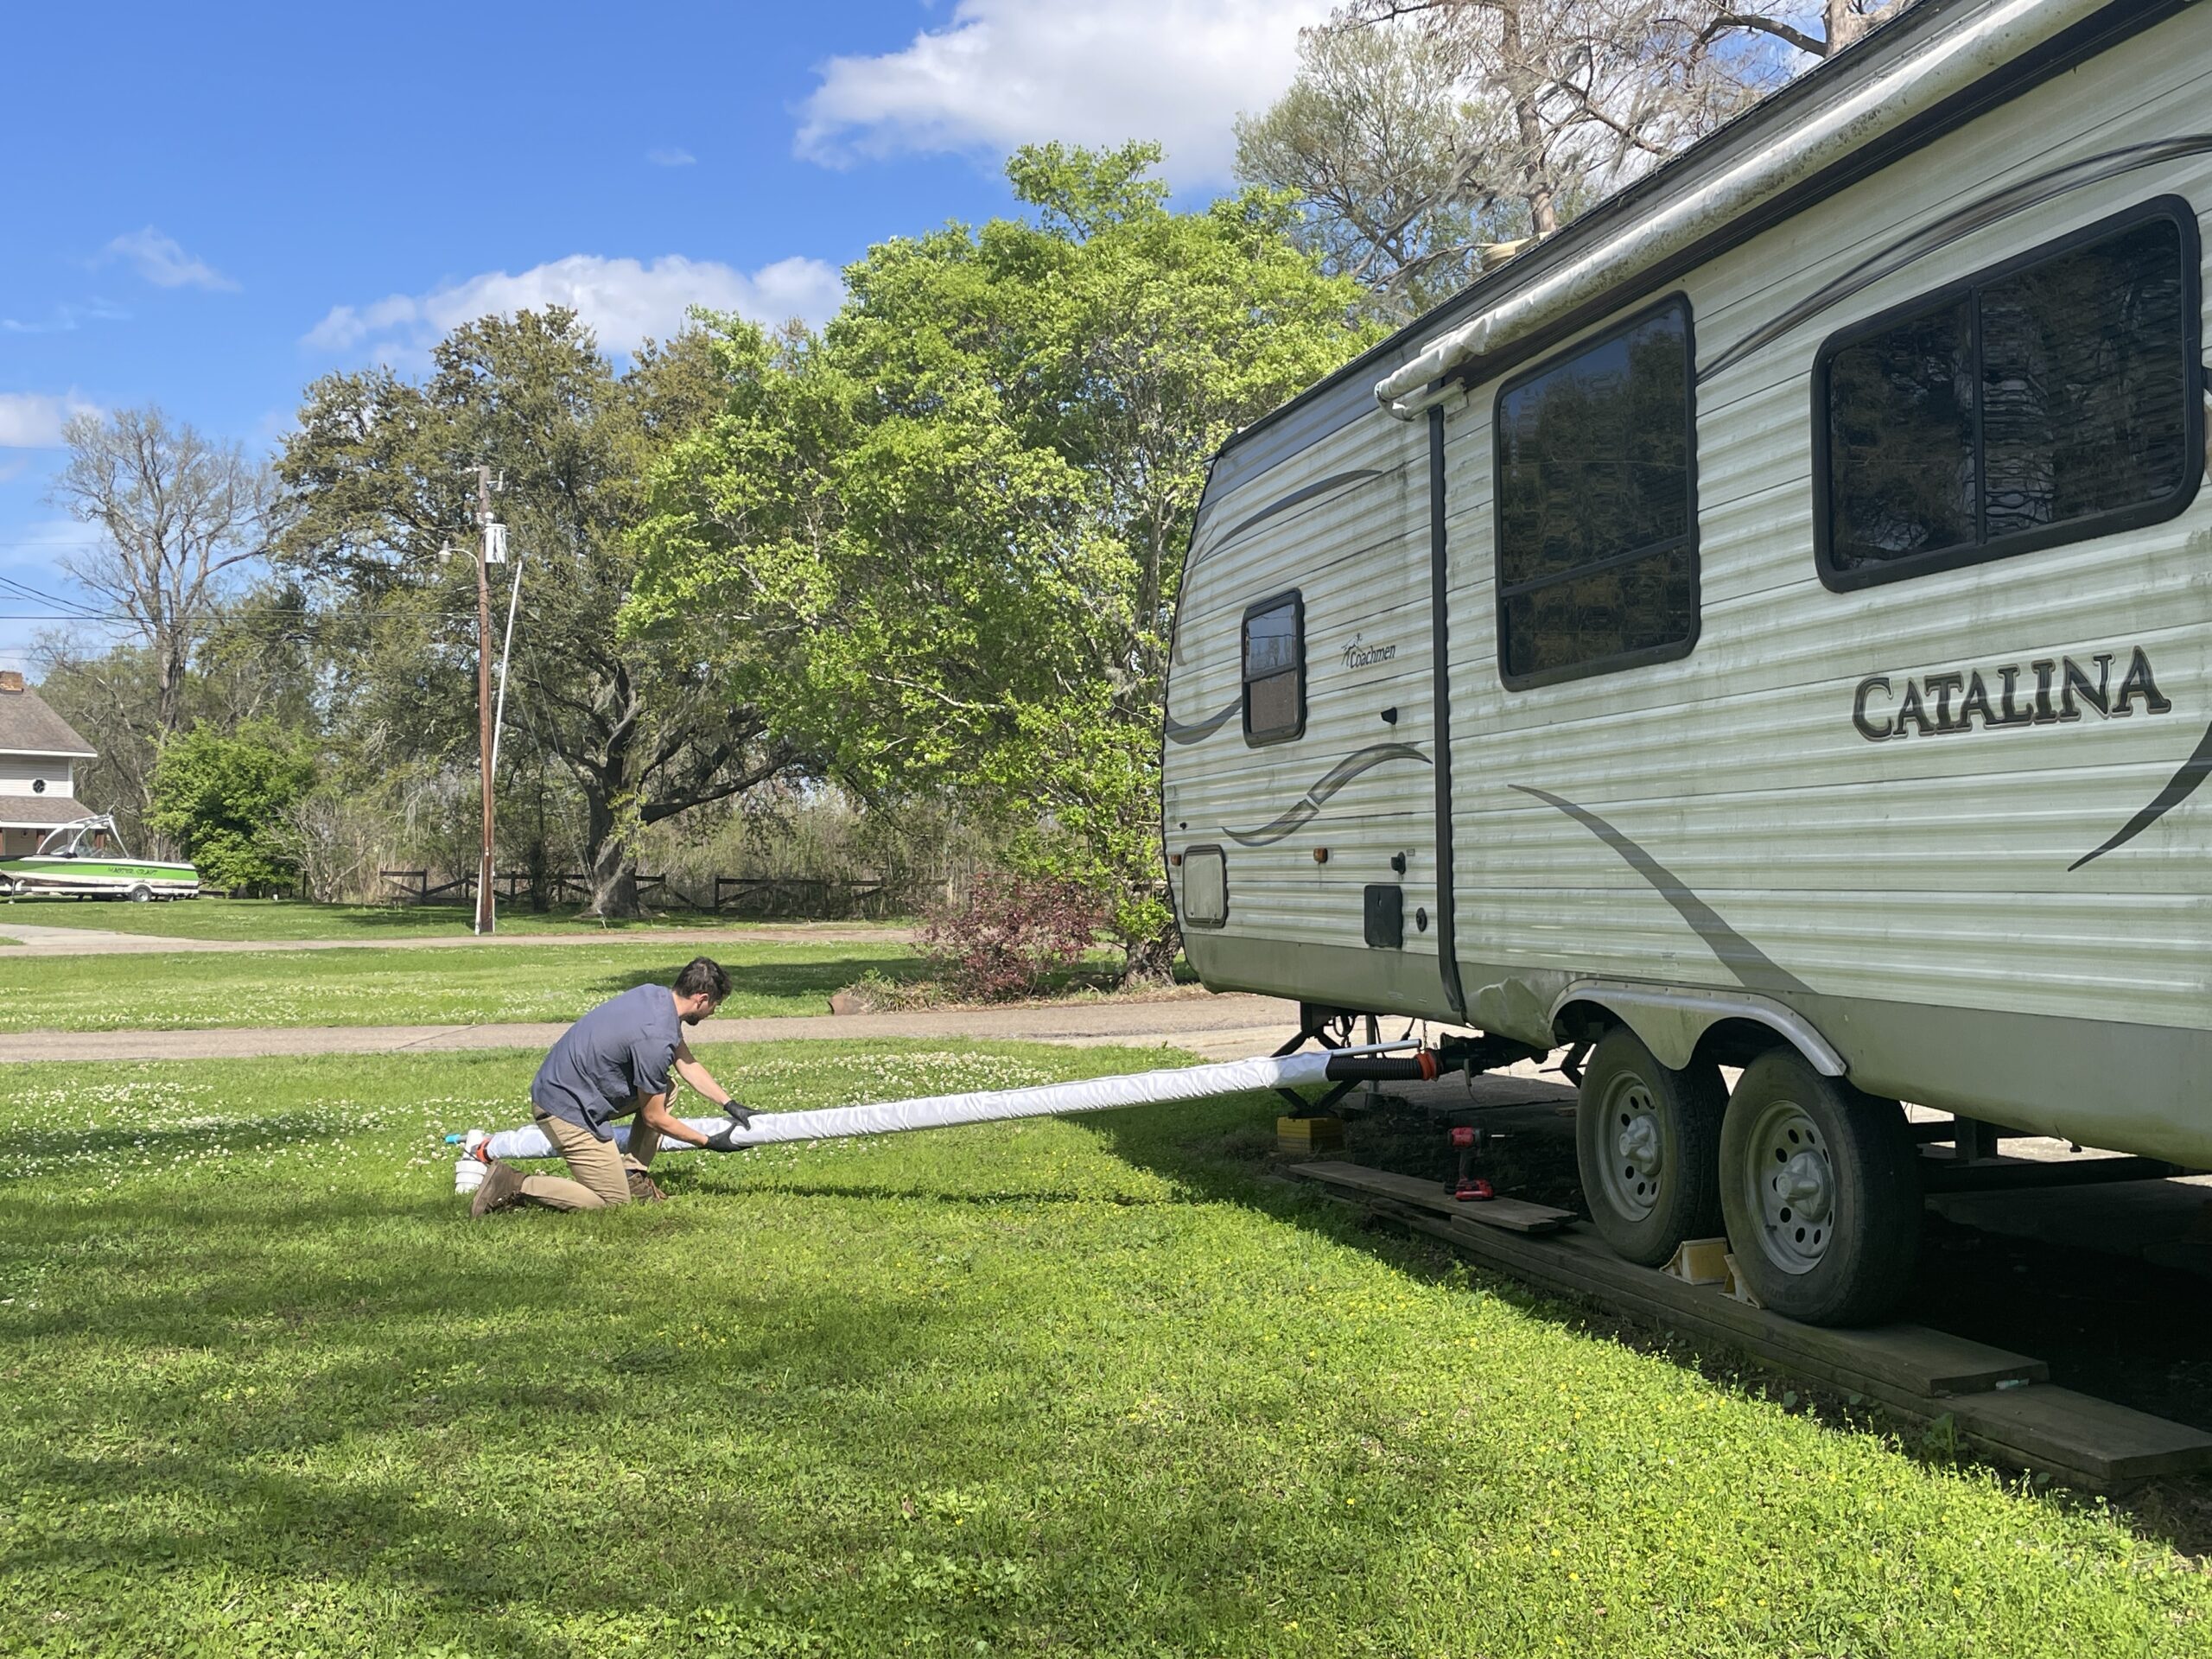
The best RV sewer accessories in 2026 are defined by three qualities: durability, compatibility, and ease of use. Whether you’re a first-time camper or a seasoned full-timer, your waste management setup directly affects how clean, safe, and stress-free your trips are. This guide covers every category of RV sewer accessory you need, from heavy-duty hoses to hose supports and clear elbow adapters, so you can build a reliable system before you ever pull into a dump station.
What are the best RV sewer accessories in 2026?
RV sewer accessories are the tools and components that connect your RV’s waste tanks to a dump station or sewer inlet. The core kit includes a sewer hose, hose supports, adapters, fittings, and protective gloves. Each item plays a specific role in keeping waste moving cleanly and safely.
Here’s a breakdown of the main accessory categories and what they do:
| Accessory category |
Primary function |
Key feature to look for |
| Sewer hose |
Transfers waste from tank to dump inlet |
TPE or polyolefin material, steel reinforcement |
| Hose support |
Maintains downward slope for drainage |
Adjustable height, UV resistance, foldability |
| Clear elbow adapter |
Connects hose to dump inlet with flow visibility |
Transparent body, 90-degree angle |
| Swivel fittings |
Prevents leaks at connection points |
360-degree rotation, secure locking |
| Nitrile gloves |
Protects hands during dumping |
Disposable, puncture-resistant |
| Hose storage caps |
Seals hose ends between uses |
Tight fit, odor-blocking design |
The most overlooked item on that list is the hose support. Most beginners buy a hose and gloves, then wonder why drainage is slow or why the hose keeps sagging into puddles. Supports solve that problem directly.
Pro Tip: Buy your full kit before your first trip, not after. Setting up at home lets you test every connection without the pressure of a line forming behind you at the dump station.
How to select the best RV sewer hose for durability and convenience
The sewer hose is the foundation of your waste management system. Choosing the wrong one means leaks, kinks, and early replacement.
Material matters more than price
TPE technology and steel reinforcement prevent kinking and maintain hose flexibility across extreme temperatures. That combination is the standard to look for in any 2026 model. Cheaper hoses use single-layer polyethylene, which cracks in cold weather and collapses under pressure. Multi-layer construction, including TPE and steel wire, delivers the performance that experienced RVers expect.

Length and storage
Most RV setups need 15–20 feet of hose to reach a dump station inlet comfortably. Modular hose systems let you connect sections as needed, which is practical when some sites have inlets close to your rig and others don’t.
Premium hoses compress to 31–56 inches for storage, which matters a lot when your RV compartment space is tight. A hose that compresses well saves you from strapping gear to the outside of your rig.
Here’s what to check before you buy:
- Length: 15–20 feet covers most standard dump station setups
- Wall thickness: Look for 23-mil polymer or thicker for long-term durability
- Compression size: Confirm it fits your storage bay before purchasing
- Fittings: Pre-attached 360-degree swivel fittings prevent leaks without extra parts
- Temperature rating: Verify the hose handles both freezing winters and hot summer pavement
2026 RV sewer hose kits range from $22.75 to $89.99 depending on material and included accessories. Spending more upfront on a thicker-walled, steel-reinforced hose almost always costs less than replacing a cheap one after one season.
Pro Tip: Before any trip, connect your hose to your RV and run water through it at home. You’ll catch loose fittings or pinhole leaks before they become a problem at a public dump station.
Why are RV sewer hose supports critical for proper drainage?
A sewer hose lying flat on the ground does not drain properly. Waste pools in low spots, creates blockages, and puts stress on the hose walls.
Adjustable height hose supports maintain a consistent downward slope from your RV to the dump inlet, which is the only way to guarantee complete drainage every time.

What makes a good hose support?
The best supports for 2026 share four characteristics: adjustable height, UV-resistant materials, foldable design for storage, and stability on uneven ground. Campground terrain is rarely flat. A support that wobbles on gravel or grass defeats its purpose. Rvlevitator’s support system is built specifically to work on uneven terrain, keeping your hose at the correct angle regardless of what the ground looks like beneath it.
| Support type |
Best for |
Key limitation |
| Accordion-style plastic |
Flat or mildly uneven sites |
Can tip on loose gravel |
| Adjustable arm supports |
Uneven terrain, full-time RVers |
Slightly bulkier to store |
| Ramp-style cradles |
Beginners, simple setups |
Fixed height, less versatile |
| Integrated cover-support systems |
UV protection + slope in one |
Higher cost |
Maintaining proper hose slope with quality supports not only improves drainage flow but also prolongs hose lifespan by preventing kinks and wear. That’s two benefits from one accessory. You protect your hose investment and get cleaner, faster dumps at the same time.
High-quality hose supports reduce dumping stress by keeping the hose stable and the flow consistent. For beginners especially, that stability removes a major source of anxiety at public dump stations.
Pro Tip: Set up your hose support system in your driveway before your first trip. Walk the full length of the hose and check that every section slopes downward toward the dump end. Adjust until there are no flat or uphill sections.
Tips for efficient and hygienic RV waste dumping
A clean dump takes about ten minutes when your accessories are right and your process is consistent. Here’s the step-by-step approach that works:
- Put on nitrile gloves first. Disposable nitrile gloves improve cleanliness and reduce hesitation during every dump cycle. Keep a box in your RV at all times.
- Verify your dump valve is closed before connecting the hose. A common mistake is forgetting to check valve closure before hose attachment. A clear 90-degree adapter helps you confirm this visually.
- Connect the hose to the dump station inlet first, then attach the RV end. This order prevents spills if the hose slips.
- Set up your hose supports along the full length of the hose, confirming a downward slope from RV to inlet.
- Open the black tank valve first, then the gray tank. Gray water flushes residue from the hose at the end.
- Watch the clear elbow adapter. Clear elbow adapters provide visual confirmation that tanks are fully emptied. When the flow runs clear, the tank is done.
- Close valves, flush the hose with fresh water, then disconnect from the RV end first.
- Remove gloves inside-out and dispose of them in a trash bag. Never leave gloves at the dump station.
“Practicing sewer hose connections at home reduces dump station anxiety and avoids spills under pressure at public stations. Hands-on experience is the single most effective preparation for beginners.” — RV dump station guide
A few common mistakes to avoid:
- Skipping gloves because “it’ll be quick.” It never is.
- Leaving the hose unsupported and wondering why drainage takes forever.
- Disconnecting from the dump inlet before closing the RV valve.
- Forgetting to cap hose ends after use, which causes odor in your storage bay.
Pro Tip: Keep a small spray bottle of diluted bleach solution in your sewer kit. A quick spray on the hose exterior and fittings after disconnecting keeps bacteria from building up between trips.
Key takeaways
The best RV sewer accessories in 2026 combine durable materials, proper slope management, and hygienic handling to make waste dumping clean, fast, and stress-free.
| Point |
Details |
| Hose material determines lifespan |
Choose TPE and steel-reinforced hoses rated for extreme temperatures and multi-season use. |
| Supports are not optional |
Adjustable hose supports maintain proper slope and prevent pooling, blockages, and hose wear. |
| Clear adapters add safety |
A transparent 90-degree elbow lets you confirm tank drainage and valve status visually. |
| Practice before your first dump |
Connecting your kit at home eliminates errors and anxiety at public dump stations. |
| Gloves belong in every kit |
Disposable nitrile gloves make every dump faster, cleaner, and more hygienic. |
What I’ve learned after years of helping RVers get this right
Most RVers underinvest in their sewer setup and overspend on everything else. I’ve seen people drop thousands on solar panels and then use a flimsy $15 hose with no support. The sewer system is the one part of your RV that, when it fails, ruins the entire trip for everyone nearby.
The accessory that makes the biggest difference is almost always the hose support. A good hose lying flat drains poorly. A mediocre hose on a proper support drains well. That tells you where to put your money first.
Sewer hose supports are the single most underrated item in any RV waste kit.
Clear elbow adapters are my second recommendation for anyone new to RVing. Clear sewer hose connectors are considered the most important accessory for confident waste dumping among experienced RVers. Once you’ve used one, you’ll never go back to guessing whether your tank is empty.
The cost argument against quality accessories doesn’t hold up. A $30 hose support that lasts five years costs less per trip than a $10 plastic cradle you replace every season. Buy once, buy right, and your waste management system becomes the least stressful part of your trip.
— Rvlevitator
Rvlevitator’s sewer hose support solutions for RV owners
Rvlevitator builds hose support systems specifically for the terrain challenges real RVers face. The supports work on uneven ground, maintain proper drainage slope, and protect your hose from UV damage and physical wear. Setup takes minutes, and every product comes with a money-back guarantee.

If you’re building or upgrading your RV waste management kit, the
RV sewer hose support collection at Rvlevitator covers options for every rig size and trip type. You’ll also find
hose support kits that bundle everything you need for a complete, reliable setup. Rvlevitator backs every purchase with direct customer support and a satisfaction guarantee, so you can buy with confidence before your next trip.
FAQ
What are the must-have RV sewer accessories for beginners?
The core kit includes a durable sewer hose, adjustable hose supports, a clear 90-degree elbow adapter, swivel fittings, and disposable nitrile gloves. These five items cover drainage, hygiene, and visual safety checks at any dump station.
How long should an RV sewer hose be?
Most RV setups require 15–20 feet of hose to reach a dump station inlet without stretching. Modular systems let you add sections when sites have longer distances between the RV and the inlet.
Why do I need a hose support if my hose reaches the dump inlet?
A hose lying flat pools waste in low spots and drains slowly. Adjustable hose supports create a consistent downward slope, which is the only way to fully empty your tanks and prevent blockages.
What is a clear elbow adapter and why does it matter?
A clear elbow adapter is a transparent 90-degree fitting that connects your sewer hose to the dump station inlet. It lets you watch the waste flow and confirm your tanks are fully empty before disconnecting, which prevents spills and messes.
Are nitrile gloves really necessary for RV dumping?
Yes. Disposable nitrile gloves protect your hands from bacteria and waste contact, and they reduce the hesitation that slows down the process. Dispose of used gloves in a sealed trash bag, not at the dump station.
Recommended